3D View (Panel)
The 3D View Panel displays the room geometry and sources which make up a loudspeaker system design. Left-clicking and dragging in the 3D View will orbit the view around the centre of the screen. Right-clicking and dragging will move the model in the view. Scrolling in or out will zoom in or out. Depending on the chosen Application Settings, the Pan Marker is shown to illustrate the point about which the camera is moving. Learn more about the Camera in System Optimiser here.
- The Grid
The grid is shown by default, and is as a reference for the user, indicating ‘zero’ on the Z-Axis (usually the floor). It has no influence on drawing, calculations or mapping as it is simply a visual aid. The grid’s step size can be adjusted in the Grid Settings Panel.
- Axis
The axis are displayed in the 3D View as red, green and blue lines. As with the grid, these are simply visual aids. These lines are thicker in the positive direction of each axis.
Red is the X-Axis. Moving items in a negative sense on the X axis will move them ‘Stage Left’ in real life. Moving items in a positive sense on the X axis will move them ‘Stage Right’ in real life.
Green is the Y-Axis. Moving items in a negative sense on the Y axis will move them ‘Upstage’ in real life. Moving items in a positive sense on the Y axis will move them ‘Downstage’ in real life.
Blue is the Z-Axis. Moving items in a negative sense on the Z axis will lower them in real life. Moving items in a positive sense on the Z axis will raise them in real life.
The origin of the 3D View is the point at which the three axis cross. This is X = 0, Y = 0, Z = 0. Typically when drawing a venue, one would describe the room using the downstage edge as the origin, however it is helpful to use the centre of rooms which are symmetrical about two or more axis as the origin in order to use layer mirroring to aid in drawing room geometry efficiently.
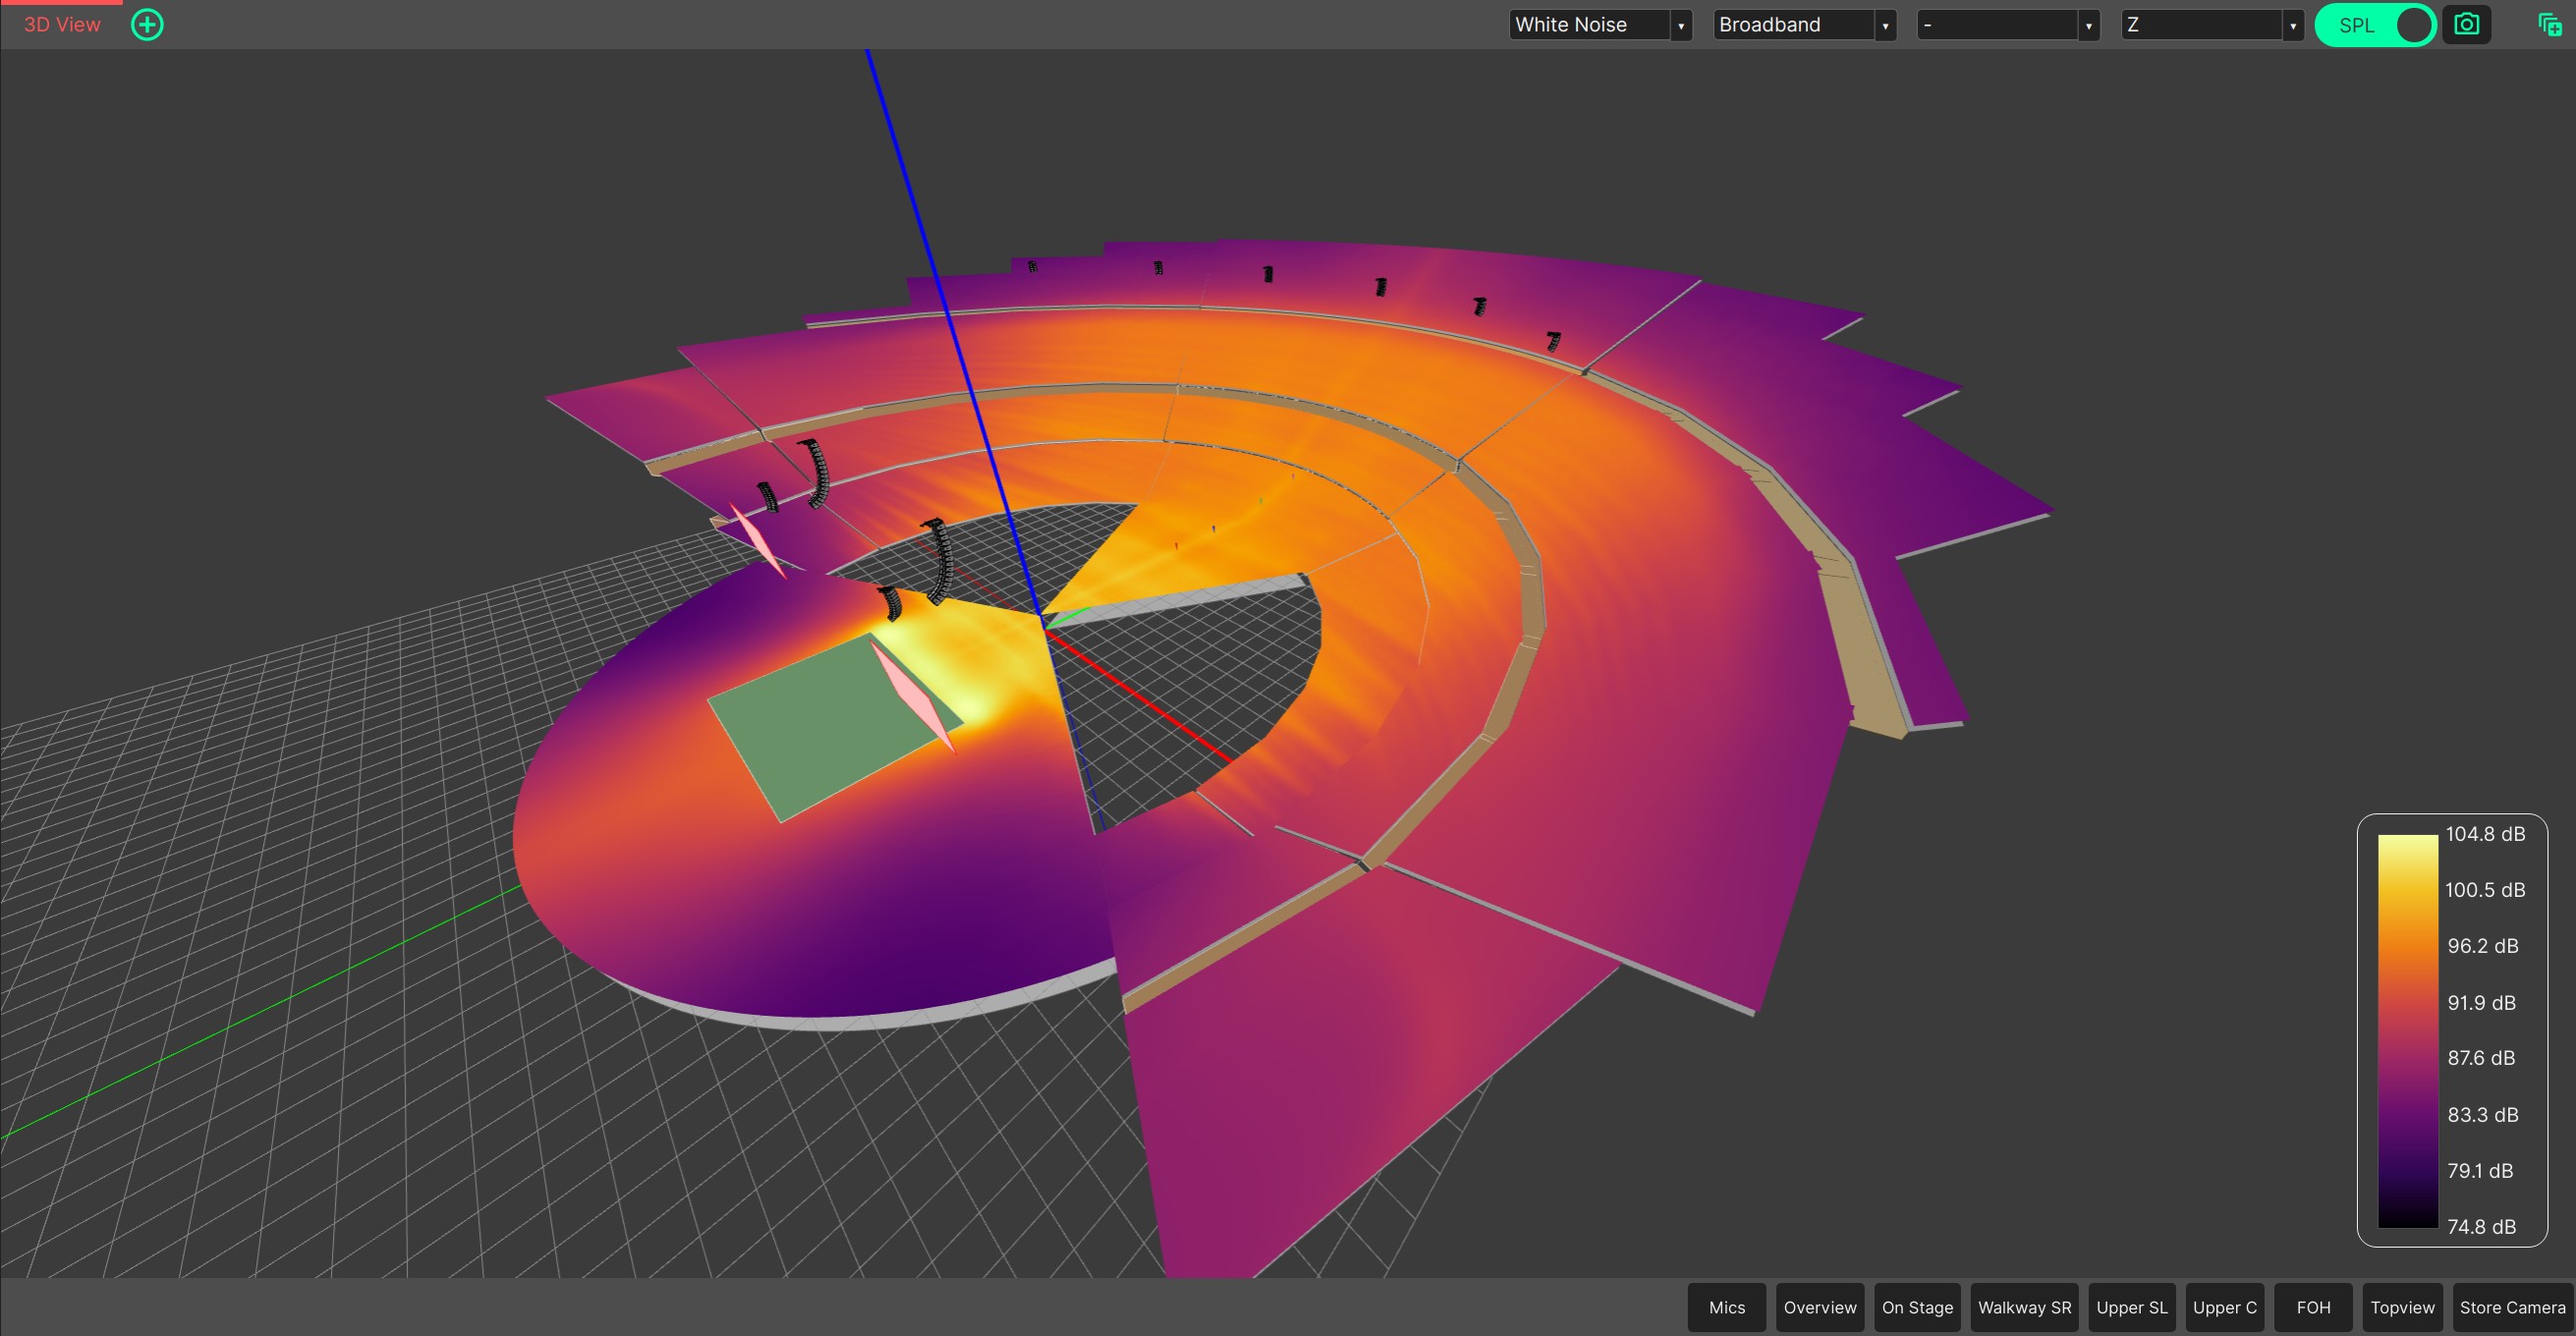
- SPL Scale
Pressure Mapping can be enabled with the SPL toggle in the top-right of the screen. The scale of the mapping is then displayed in the bottom-right, and can be adjusted via the Application Settings.
- Objects Displayed in the 3D View
- The following objects are displayed in the 3D View.
As with all Panels, the 3D View can be resized and moved using Panel Drag & Drop, and ‘popped out’ into an additional System Optimiser window. The location of this Panel will be saved as part of the current View Mode.